
U Point ™
Technology
Local adjustments
that give you more
From brightening faces in treasured portraits to darkening the sky of a dramatic landscape,
In traditional software, making them is tricky and imprecise.
Rather than ‘global’ adjustments that affect an entire image,
If you’ve ever tried to use magic wands, freehand lasso, and pen tools or make selections using channels, you’ll know all about it. Even with lots of skill, some situations are impossible to mask accurately.
There had to be a better way, and in the early 2000s, Nils Kokemohr (founder and former CTO of Nik Software) and his team of engineers invented it. U Point is a revolutionary, award-winning technology that makes selections with incredible precision based on just a simple mouse click.
After DxO purchased the Nik Collection from Google, we redesigned and upgraded U Point technology so it could be used on RAW files. All the edits you need to make can be achieved without leaving DxO PhotoLab, our advanced photo editing package.
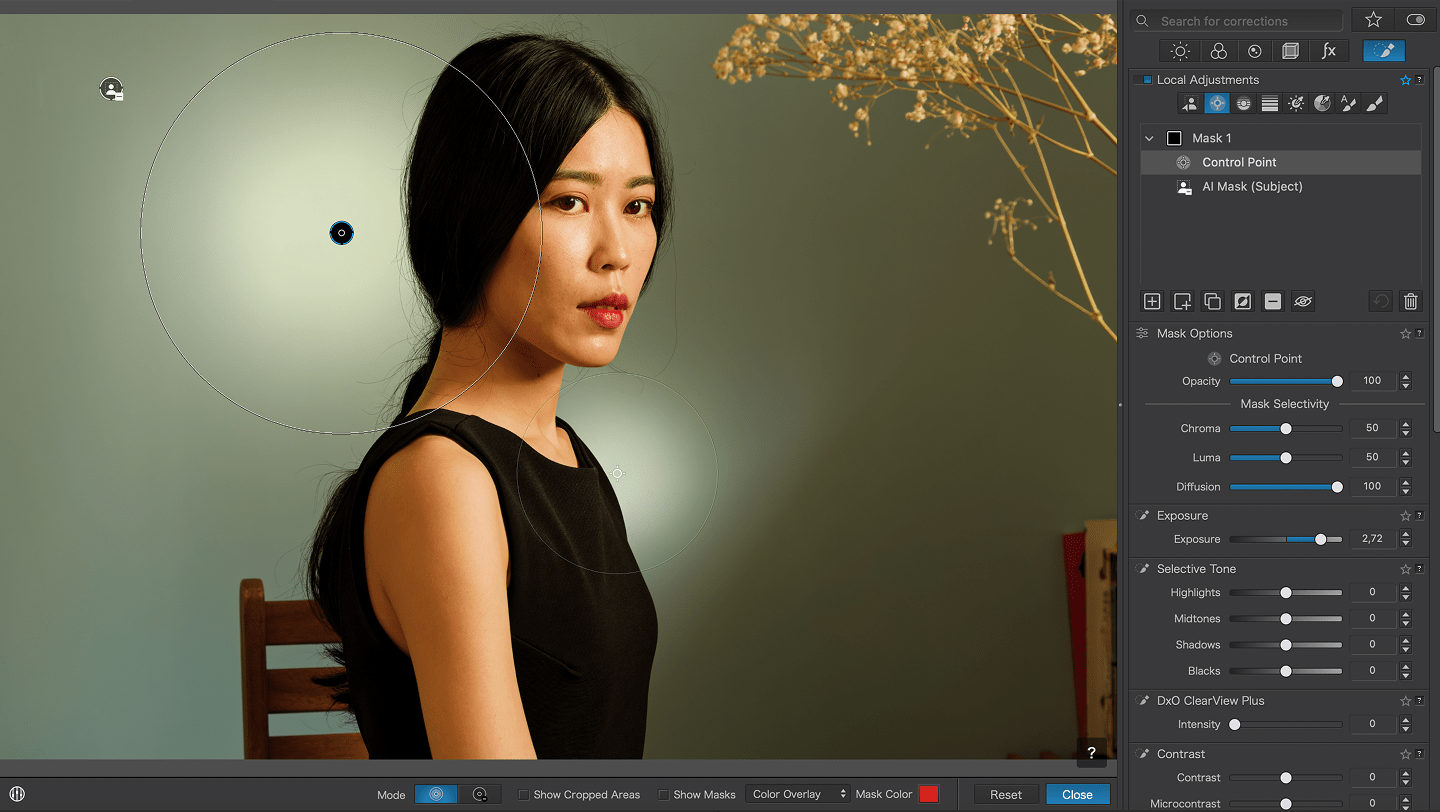
How U Point works
Once these reference points are created, the U Point algorithm identifies the pixel’s characteristics in terms of color channel value (red, green, and blue), hue, saturation, and luminance.

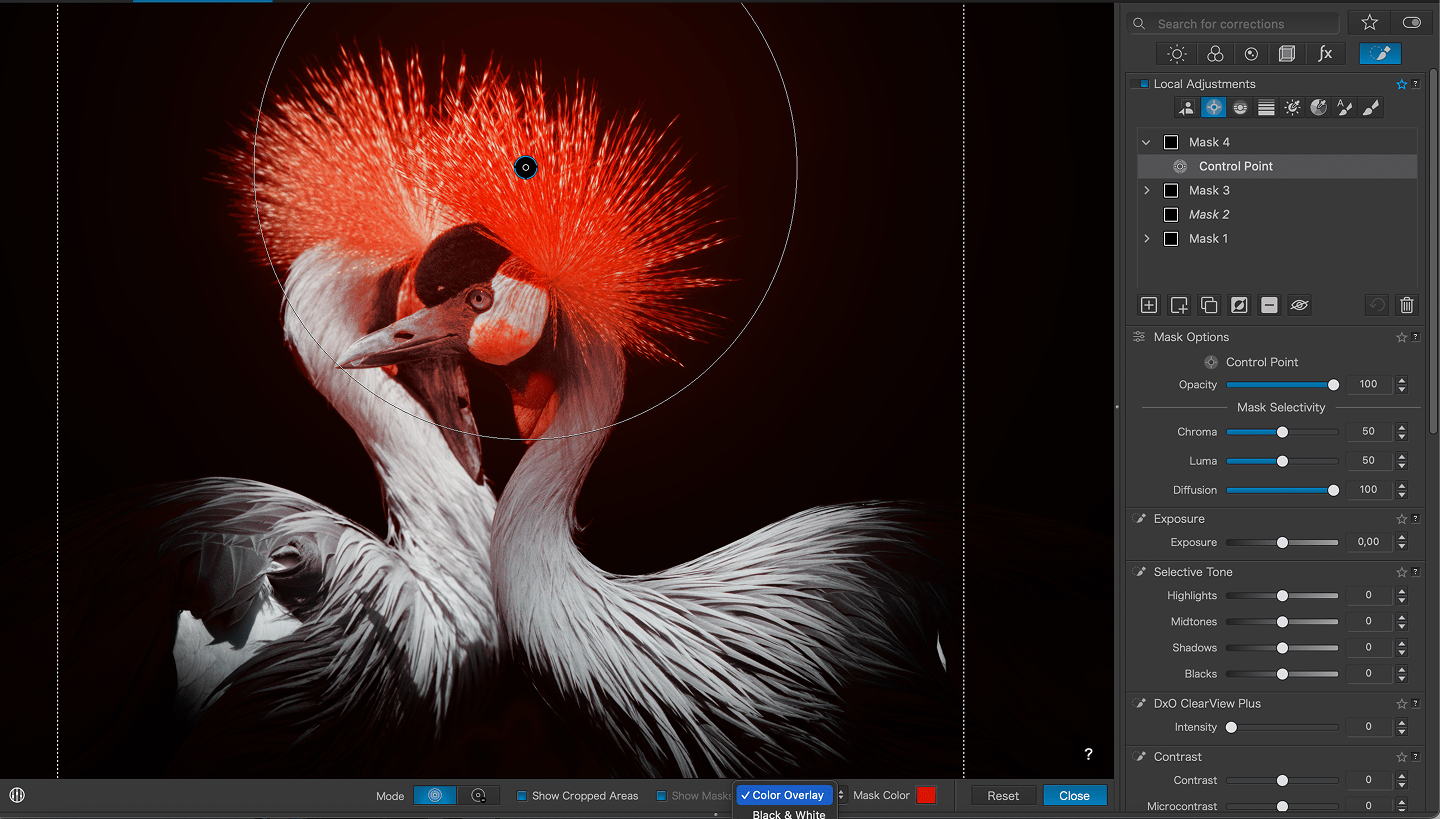
But that’s not all


- Address multiple issues with a variety of specific adjustments
- Add redundancy: since similarities are analyzed in every Control Point and Control Line placed within your image, the engine is able to distinguish one reference pixel from another and figure out how similar they are
- Select areas that are non-circular in shape more easily
- Expand the selection to include slightly darker or lighter reference points
- Identify different reference pixels on different objects
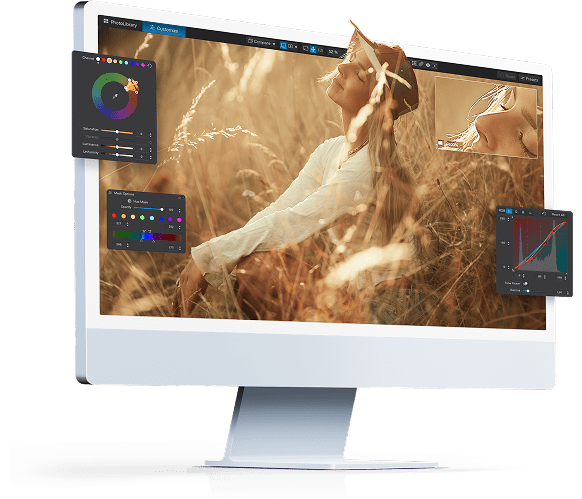
Learn more about U Point
Not all RAW workflow packages make it this easy! Check out all of the elements that you can manipulate with U Point:

NO LIMITS, NO COMMITMENT
GET YOUR FREE TRIAL NOW!
Download DxO PhotoLab 9 today.
30 day free trial, no restrictions, no card details required.
*Your email address is only used for information about DxO and Nik Collection software.

For the passionate photographer.