DxO PhotoLab 9
Learning & Support
DxO PhotoLab 9
Everything for editing
Explore tutorial videos, a detailed user guide, and more.
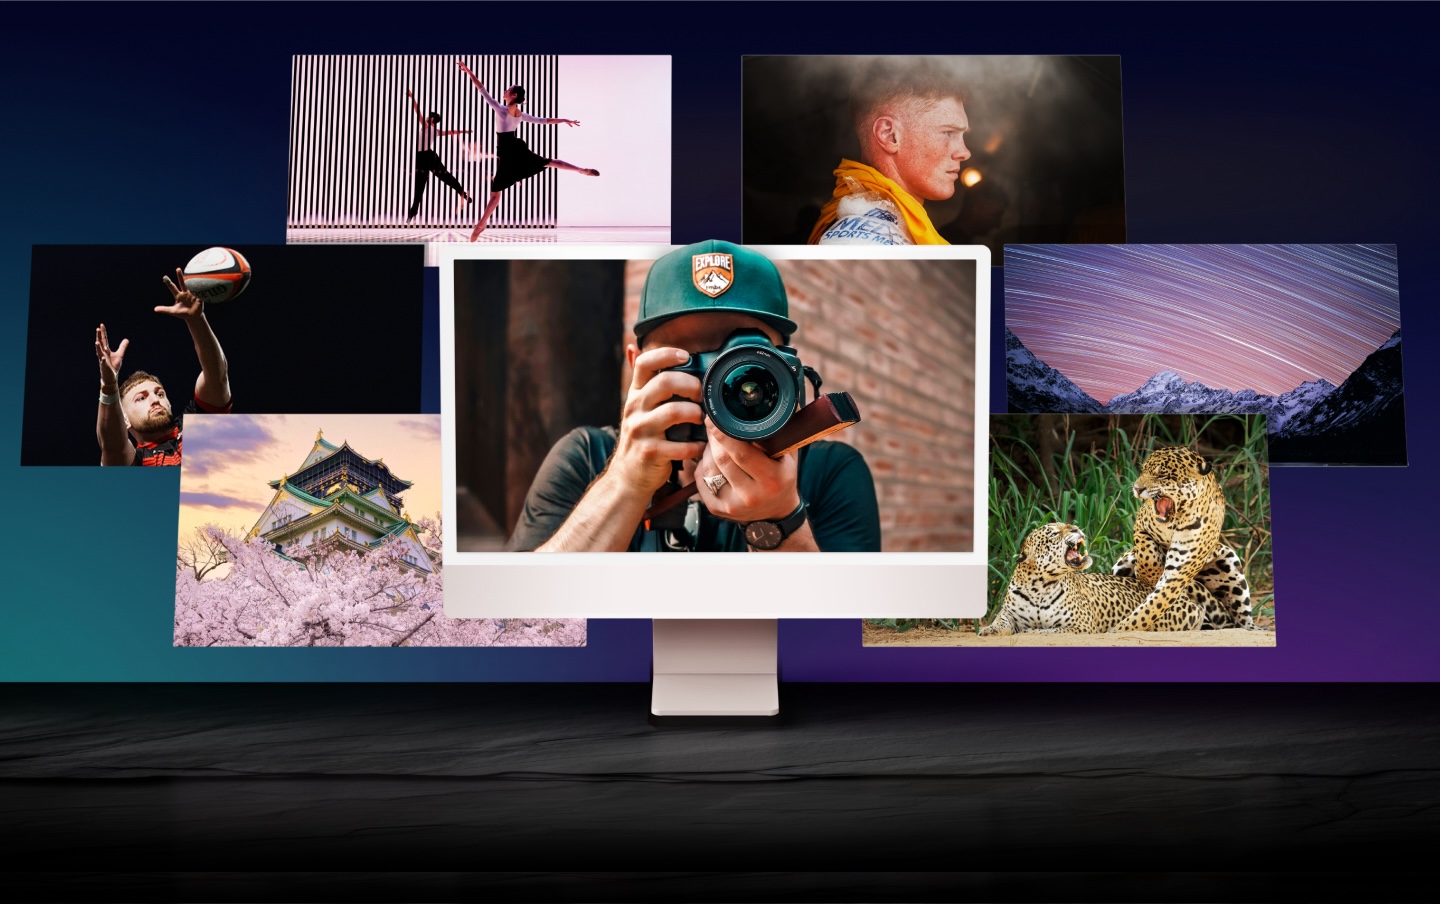
© Petr Bambousek, © Yoshiki Fujiwara, © Davey Wilson
Getting started
Learn how to access your files, make basic edits, and how to export images.

09:01
What’s new
Explore all of the fantastic new features introduced as part of DxO PhotoLab 9.
11:47
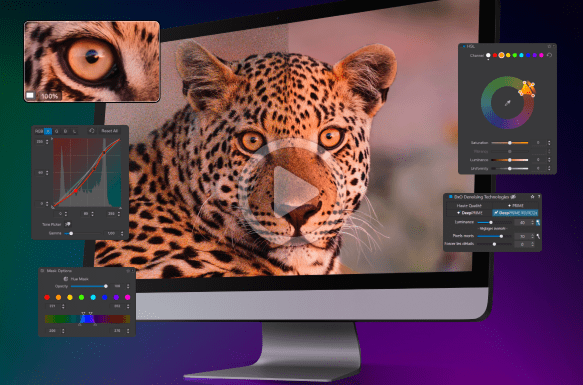
Noise reduction features
Learn about the power of DxO DeepPRIME XD2s, DeepPRIME XD3 X-Trans, and the essential magnifier tool.
04:11
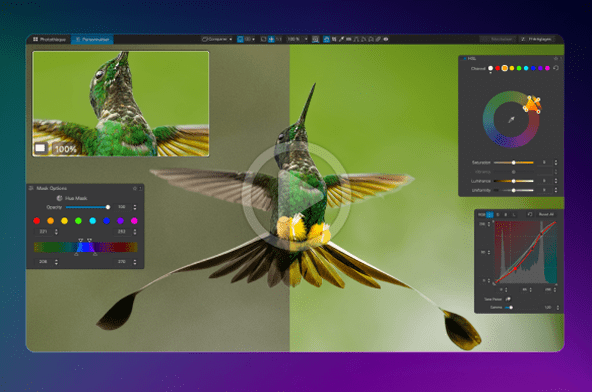
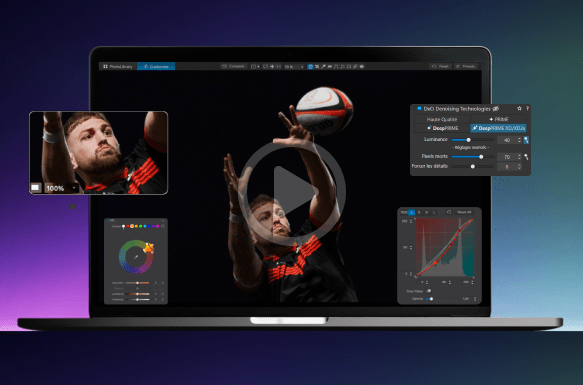
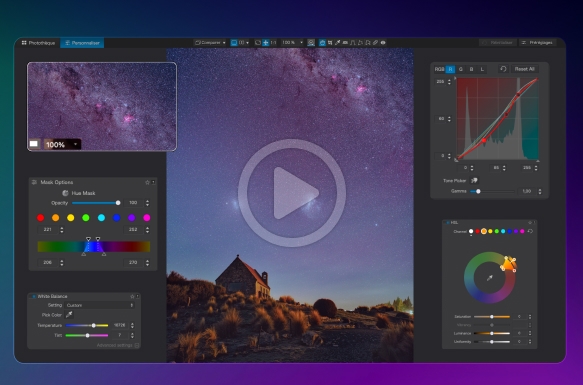
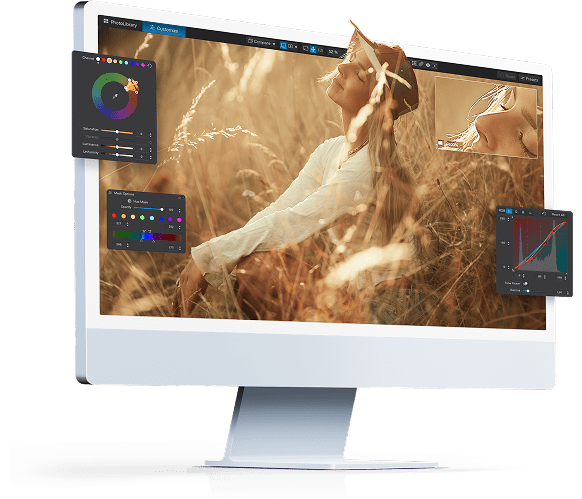
Local adjustments and AI Masks
Discover DxO PhotoLab 9’s sophisticated local adjustment tools featuring powerful AI Masks, an intuitive interface, and exclusive U Point™ technology.
06:49
20 tips for a sublime workflow
To celebrate more than 20 years of DxO, we’ve put together 20 top tips that will supercharge your editing workflow.
12:05
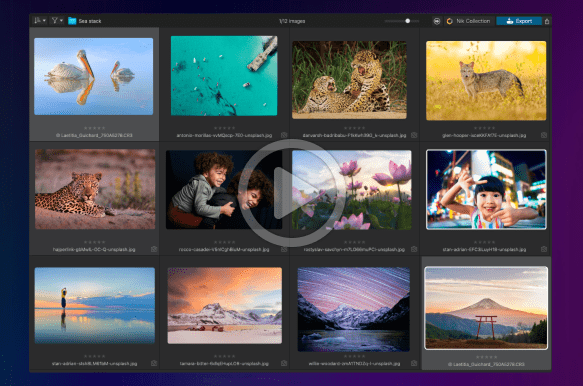
Navigating your PhotoLibrary
Learn how to use the PhotoLibrary, and discover the basics of organizing your images with DxO PhotoLab’s robust asset management system.
06:03
Customize your interface
Create a workflow that works perfectly for you.
07:01
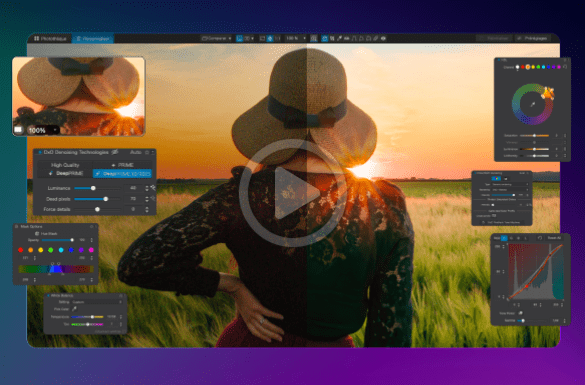
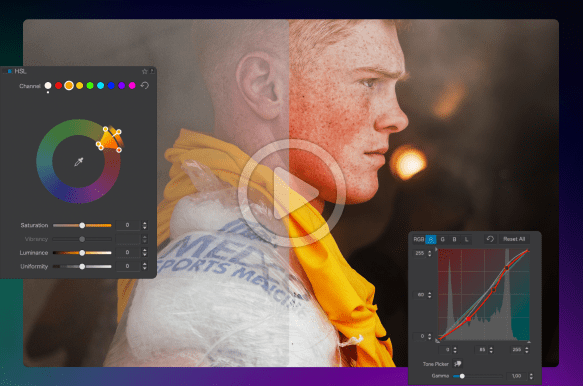
Advanced editing
Discover sophisticated features and techniques, and take control of tools such as the Tone Curve and Local Adjustments.
04:23
User guide
DxO PhotoLab 9
Need help? Check out our in-depth online user guide.
Your questions
answered
Helpful info to address some common queries.
On how many computers can I install DxO PhotoLab 9 ?
DxO PhotoLab 9 can be activated on a total of three personal computers, as long as it is never run on more than one computer at a time. You may install on both Mac and PC with the same license.
Are RAW files from my camera compatible with DxO PhotoLab 9 ?
DxO PhotoLab 9 works with a huge range of camera and lens combinations from all popular manufacturers including Canon, Nikon, Sony, Pentax, Leica, Panasonic, Olympus, Hasselblad, and more. However, because each RAW file is unique to the model of camera that made it, it has to be in our database to be compatible. Therefore the very latest models may not be available for a few weeks after release. You can find the full list of compatible cameras and lenses here.
Is DxO PhotoLab 9 complicated to use?
Because DxO PhotoLab 9 is a powerful software featuring a wide range of tools and technology, there is a learning curve. If you already use end-to-end RAW photo editing software, the arrangement and processes should feel familiar. If you’re new, we suggest checking out all of the tutorial videos listed above.
I already have a version of DxO PhotoLab. Do I need to upgrade?
We recommend upgrading to the latest version of DxO PhotoLab. Version 9 contains a number of new features, all of which are listed on the What’s new page. Using the latest version also ensures support for the latest cameras and lenses. Furthermore, when version 10 is released, owners of version 9 will be offered a special upgrade price, making it significantly more affordable to buying it for the first time. If you own version 8, head to your Customer Account to see the special upgrade price you've been offered for DxO PhotoLab 9.
Is the trial version lacking any features?
No. Your trial version of DxO PhotoLab 9 works just like the regular application – no watermarks, no missing tools or technologies, and no limits on the number of files that you can process. We want you to see how good it is, and you have 30 days to do it.
I use DxO PureRAW. Do I need DxO PhotoLab 9 ?
DxO PureRAW 5 and DxO PhotoLab 9 share the same processing engine, so they provide the same quality of noise reduction, detail enhancement, and optical correction. The main difference is in workflow. DxO PhotoLab is a full photo editing and organizing application while PureRAW 5 allows photographers to batch process their images that they can then adjust using their preferred image editing software — for instance, Adobe Photoshop or Adobe Lightroom.

NO LIMITS, NO COMMITMENT
GET YOUR FREE TRIAL NOW!
Download DxO PhotoLab 9 today.
30 day free trial, no restrictions, no card details required.
*Your email address is only used for information about DxO and Nik Collection software.
“The best photo editing software for RAW image processing.”

For the passionate photographer.